


 English
  中文简体
中文简体 
 Home / News / Industry News / Attach a Safe to the Floor: Complete Guide on Bolting Down Safes Properly
Industry News
Attach a Safe to the Floor: Complete Guide on Bolting Down Safes Properly
2026-10-02
As a manufacturer that has designed and built safes for more than two decades, we hear one question more often than any other: do I really need to attach my safe to the floor? The short answer is yes. A safe that is not secured to the structure of your home is simply a heavy box that experienced thieves know how to move. In this guide, we explain why floor mounting matters, how to attach a safe to concrete and wood, when bolting is not a good idea, and which alternatives work best.
Why Bolting a Safe to the Floor Matters
A free-standing safe can be tipped, dragged, or carried away by two determined people with a dolly. Bolting it down eliminates the easiest attack completely: a safe anchored to the floor must be attacked in place, with noisy tools and plenty of time, which is exactly what burglars want to avoid. Anchoring also prevents a dangerous tipping accident when the heavy door swings open, and it keeps the safe level so the locking mechanism and hinges stay aligned for years.
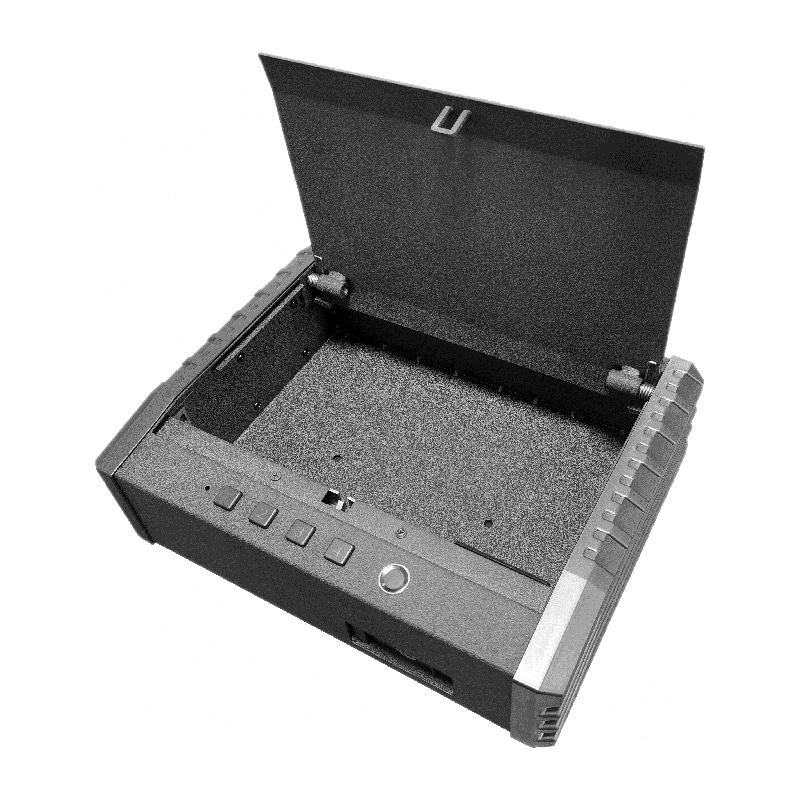
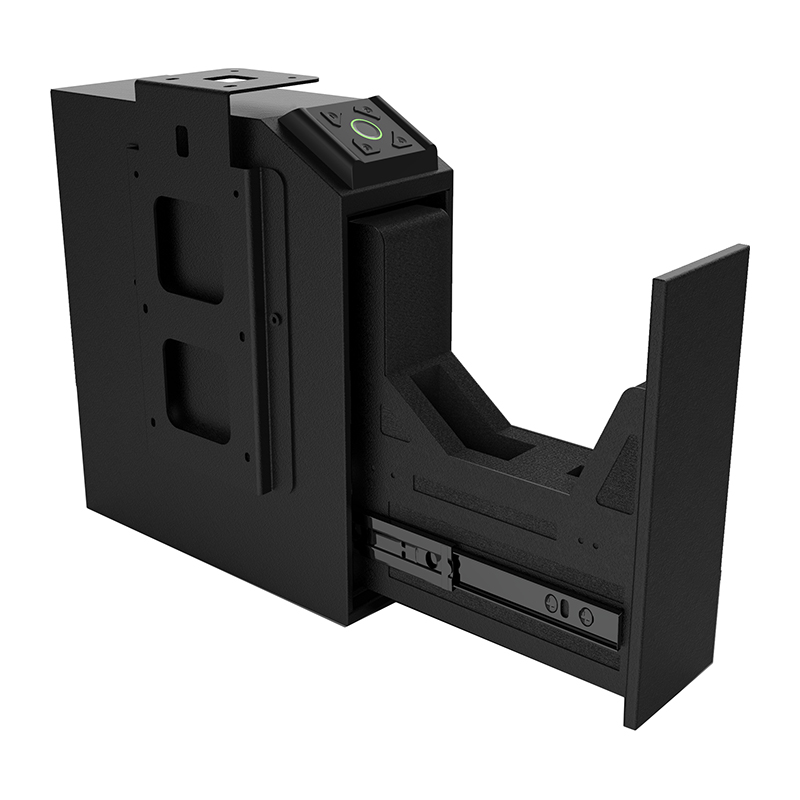
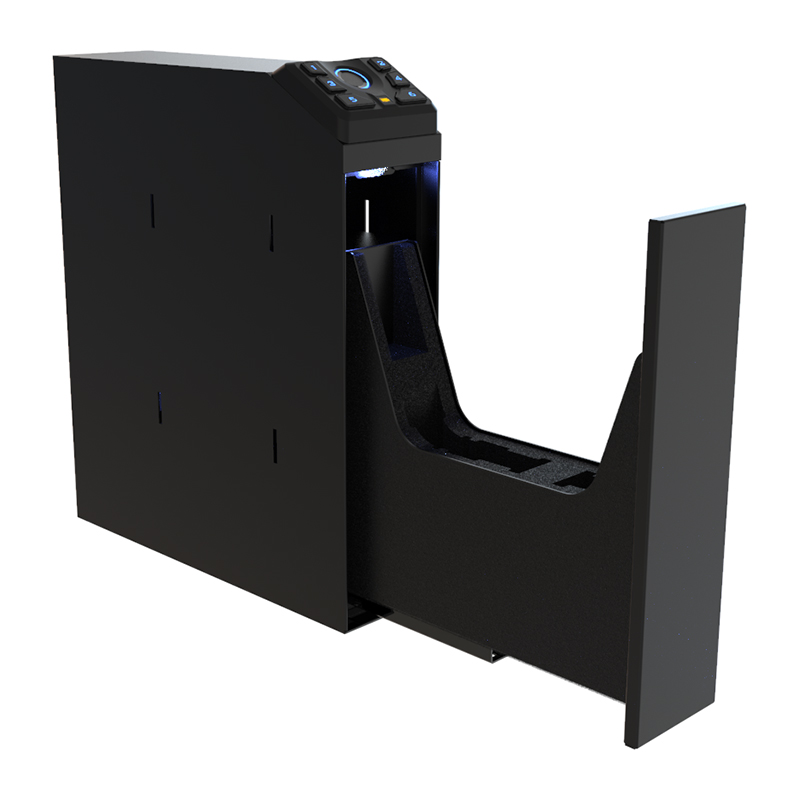
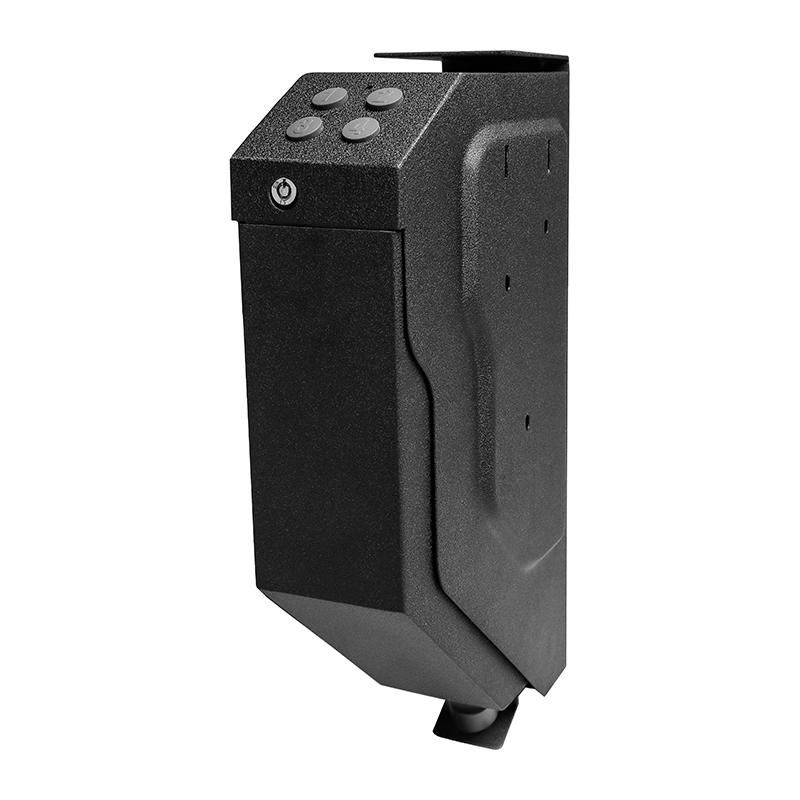
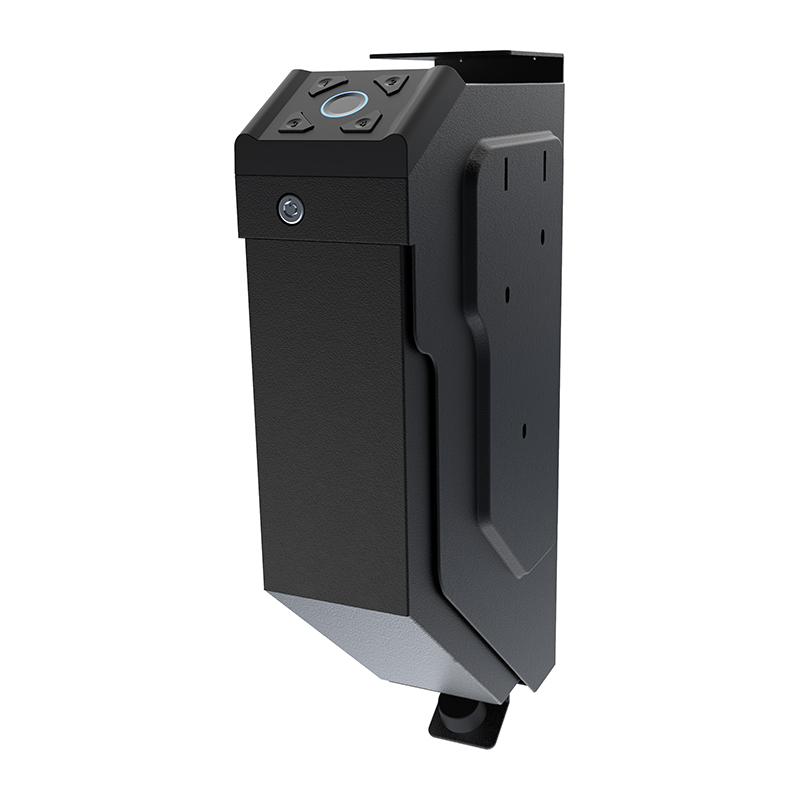
Before you start, keep in mind that the steel and locking hardware inside the safe matter as much as the installation itself. The same price tag can hide completely different products, as we explain in our pistol safe sourcing guide. Anchoring protects the exterior, but you still want a safe whose body-and-door construction deserves to be bolted down.
Tools and Materials You Will Need
Most upright safes in our product line ship with pre-drilled mounting holes in the floor of the cabinet, so you never have to drill through the safe itself. The preparation work happens on the floor beneath. The table below lists the tools and materials by floor type.
| Tool or Material | Floor Type | Purpose |
|---|---|---|
| Hammer drill and masonry bit | Concrete | Drilling anchor holes in the slab |
| Expansion anchors or sleeve anchors | Concrete | Gripping the concrete and holding the bolt |
| Lag bolts and washers | Wood | Fastening the safe to the subfloor or joists |
| Plywood base, 19 mm (3/4 in) | Wood | Protecting the finished flooring and spreading the load |
| Socket wrench or driver | Both | Tightening the mounting bolts |
| Pencil or marker | Both | Marking hole positions through the safe floor |
| Vacuum or brush | Both | Cleaning dust and debris from the drilled holes |
| Level and shims | Both | Checking the safe is level and stable before final tightening |
How to Attach a Safe to a Concrete Floor
Concrete offers the most straightforward floor mounting because of its excellent holding power. The process works on basement slabs, garage floors, and ground-floor rooms, assuming the slab is at least about 10 cm thick. Follow these steps:
- Place the safe in its final position. Open the door fully and confirm that you have clearance for the door swing.
- Mark the mounting holes. Reach through the factory-drilled holes in the floor of the safe and mark the concrete with a pencil or marker.
- Move the safe aside and drill guide holes with a hammer drill, using a masonry bit that matches the anchor diameter. Drill to the depth the anchor manufacturer recommends.
- Clean every hole. Vacuum out the dust and brush the edges so the anchors can seat properly.
- Tap the expansion anchors into the holes until the top is flush with the floor. A rubber mallet makes this easier.
- Set the safe back over the anchors, insert the bolts, and tighten evenly with a socket wrench, working corner to corner so the safe pulls down squarely.
- Check for level. If the safe rocks, place thin shims under the low corners, then re-tighten.
- Re-tighten after 24 hours. Concrete anchors often settle slightly as they seat, and a second pass keeps the safe firmly planted.
For a typical bedroom or closet installation, a compact model such as our 40-liter biometric home safe has a reinforced floor with factory-drilled anchoring points, so the job can be finished in about half an hour.
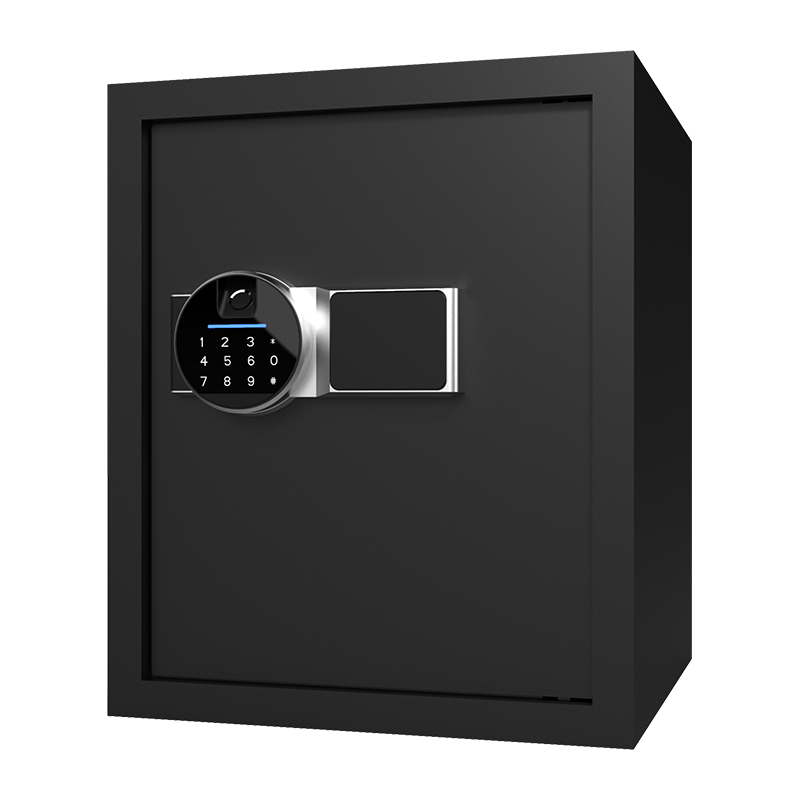 BS0142 40L Biometric Home Safe with Reinforced FloorThis compact 40-liter biometric safe suits bedroom or closet installations, with factory-drilled anchoring points and a reinforced floor for quick bolting. Its fingerprint, passcode, and key entry make it a practical choice for securing valuables.View Product →
How to Attach a Safe to a Wooden Floor
Wooden floors need a different approach because the fasteners must bite into the subfloor and ideally into the joists. Locate the joists with a stud finder. Where a finished wood floor is present, a 19 mm plywood base spreads the weight and prevents the feet from denting the surface.
- Cut the plywood base and place it where the safe will stand.
- Set the safe on the plywood and mark the mounting holes through the factory-drilled openings.
- Remove the safe and drill pilot holes through the plywood and subfloor. Use a wood bit slightly smaller than the lag bolts and stop before drilling through a joist.
- Align the safe, insert the lag bolts with washers, and tighten securely with a socket wrench or driver.
- Test for any rocking motion. Add shims where needed, then tighten again.
When You Should Not Bolt a Safe to the Floor
Bolting is the best choice in most homes, but some situations make it risky. Consider the conditions below before you pick up a drill:
- In-floor heating systems. Pipes or heating elements can sit close to the surface of a concrete slab, and a masonry bit will damage them.
- Post-tension cables in concrete. These cables are under extreme tension; cutting one can weaken the floor structure and create a safety hazard.
- Rental homes and apartments. Your lease may prohibit modifications, and you will likely be responsible for repairing the holes when you move out.
- Hidden utilities. Plumbing, conduits, and data cables can run beneath any finished floor. Review building plans or consult a contractor if you are unsure what is underneath.
If any of these conditions apply, do not drill until a professional has assessed the floor. In many cases, one of the alternative methods below can provide a secure installation with zero damage.
Alternatives to Bolting a Safe to the Floor
When bolting is off the table, you still have other practical ways to secure a safe:
- Security cables. Thread a hardened steel cable through the safe's mounting holes and around a structural column, a heavy fixed workbench, or the frame of a bolted-down cabinet.
- Ballast and tight placement. Put the safe in a narrow alcove and fill it with heavy items; confined space plus added weight makes moving it extremely difficult.
- Structural adhesives. Construction adhesive can bond the base of the safe to the floor, though it is harder to remove later and generally weaker than mechanical fasteners.
- Concealment. A well-hidden safe is far less likely to be attacked. Low-profile models such as our large under-bed safe can be secured with short bolts or cables through the bottom panel while staying almost invisible under a bed.
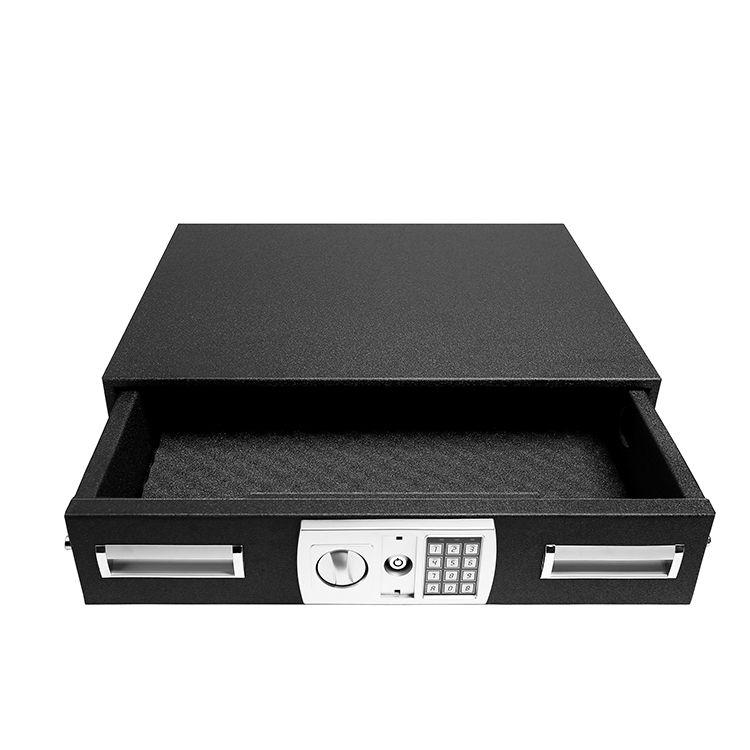 BS0101 Large Underbed Safe with Pre-Drilled Mounting HolesDesigned for low-profile placement, this large underbed safe includes reinforced floor plates and pre-drilled holes so bolting pulls against solid steel. Its fingerprint, passcode, and key access add convenience for everyday use.View Product →
What We Build Into Our Safes for Easy Floor Mounting
As a manufacturer, we design every upright safe with floor mounting in mind. Pre-drilled holes are standard because a safe that is never anchored is only half a safe. The floor plates of our home safes and gun cabinets are reinforced around the mounting points, so the bolts pull against solid steel rather than thin sheet metal. After drilling, the powder-coated finish continues to protect the exposed edges. For gun owners with a larger collection, a fireproof gun safe that holds sixteen long guns should always be anchored; otherwise the whole cabinet can be carried out in one trip, no matter how strong the lock is.
We also offer production-level flexibility. If your installation calls for an unusual hole pattern, extra anchoring points, or a reinforced base frame, our engineers can incorporate it during manufacturing rather than leaving you to improvise on site. Working directly with a factory that has been producing safes and sheet metal enclosures since 2000 gives you that advantage.
 FS0116 16-Gun Fireproof Gun Safe with Fire RatingHolding up to sixteen long guns, this fireproof safe features 1200°F protection for 45 minutes, five live-action bolts, and a carpet-lined interior. Anchoring it is essential to prevent whole-cabinet theft.View Product →
Attaching a safe to the floor is one of the most effective home security upgrades you can make, and it takes about half an hour with the right tools. Whether you bolt down a compact home safe in a bedroom, anchor a large gun cabinet in a basement, or use cables and concealment in a rental, the goal is the same: force an attacker to work hard for what is inside. If you are ever unsure about the construction of your floor, ask a professional contractor before drilling. Remember that mounting points are part of the design, not an afterthought; a safe intended to be bolted down from day one will always protect you better than one that merely sits on the floor.
-

Arnostanley Electric is committed to providing customers with home security OEM and ODM services, as well as comprehensive professional solutions.
-
Product List
Pistol Safe Lock Box Gun Cabinet Home Safe Safe Accessories Product Customization -
Contact Info.
+86-(0)574-6248 327+86-180 6720 2630Lucas_zhu@arnostanley.comNo.16 Beixing East Road, Yuyao City, Zhejiang Province, China -
Follow Us
Copyright © 2025 Ningbo Arnostanley Electric Co., Ltd. ALL Rights Reserved.
Custom Secure Storage Solutions Suppliers
